What is Aluminum Extrusion? The Process in 10 Steps
The use of aluminum extrusion in product design and manufacturing has increased significantly in recent decades.
According to a recent report from Technavio, between 2019-2023 the growth of the global aluminum extrusion market will be accelerating with a Compound Annual Growth Rate (CAGR) of almost 4%.
Perhaps you’ve heard of this manufacturing process and are wondering what it is and how it works.
Today we’ll discuss what aluminum extrusion is, the benefits it offers, and the steps involved in the extrusion process.
We’ll begin with the most basic and essential question.
Table of Contents
What is Aluminum Extrusion?
Aluminum extrusion is a process by which aluminum alloy material is forced through a die with a specific cross-sectional profile.

Aluminum extrusion can be likened to squeezing toothpaste from a tube
A powerful ram pushes the aluminum through the die and it emerges from the die opening.
When it does, it comes out in the same shape as the die and is pulled out along a runout table.
At a fundamental level, the process of aluminum extrusion is relatively simple to understand.
The force applied can be likened to the force you apply when squeezing a tube of toothpaste with your fingers.
As you squeeze, the toothpaste emerges in the shape of the tube’s opening.
The opening of the toothpaste tube essentially serves the same function as an extrusion die. Since the opening is a solid circle, the toothpaste will come out as a long solid extrusion.
Below, you can see examples of some of the most commonly extruded shapes: angles, channels, and round tubes.
On top are the drawings used to create the dies and on the bottom are renderings of what the finished aluminum profiles will look like.

Drawing: Aluminum Angle
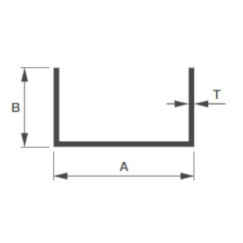
Drawing: Aluminum Channel
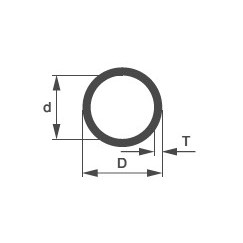
Drawing: Round Tube
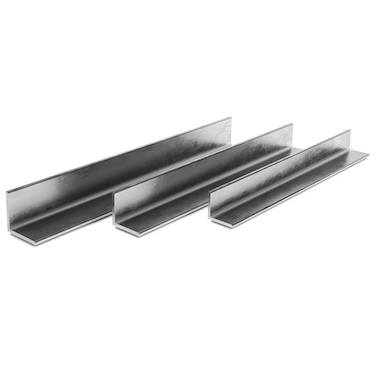
Rendering: Aluminum Angle
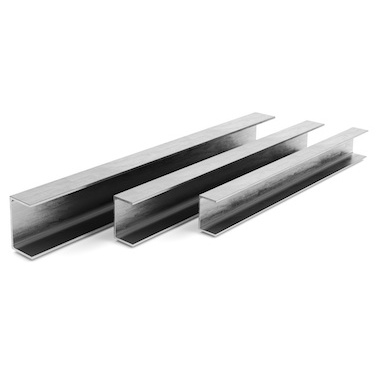
Rendering: Aluminum Channel

Rendering: Round Tube
The shapes we see above are all relatively simple, but the extrusion process also allows for the creation of shapes that are much more complex.
What Kinds of Shapes Can be Extruded?
There are three main categories of extruded shapes:
- Solid, with no enclosed voids or openings (i.e. a rod, beam, or angle).
- Hollow, with one or more voids (i.e. square or rectangular tube).
- Semi-hollow, with a partially enclosed void (i.e. a “C” channel with a narrow gap)
(Related: Aluminum Extrusion Dies: This is What Designers Should Know)
Extrusion has innumerable applications across many different industries, including the architectural, automotive, electronics, aerospace, energy, and other industries.
Below are some examples of more complex shapes that were designed for the architectural industry.
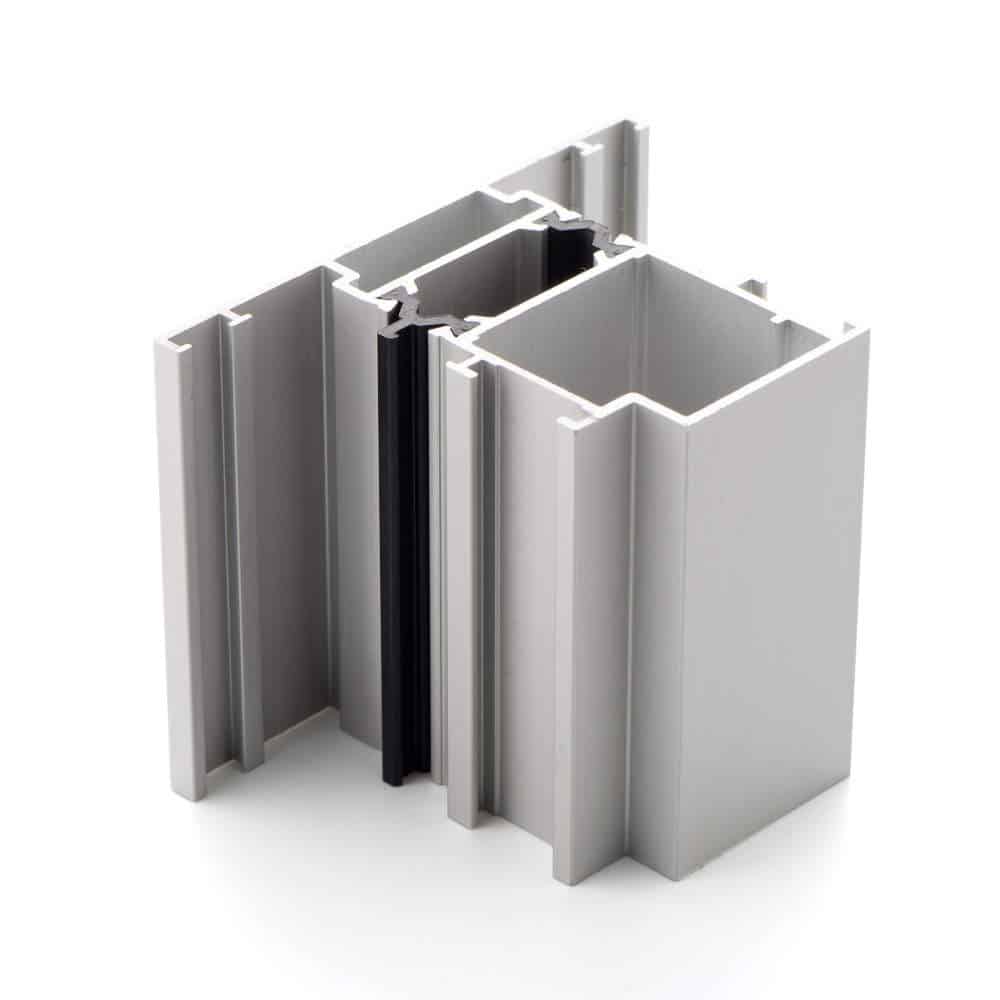
Architectural Shape #1
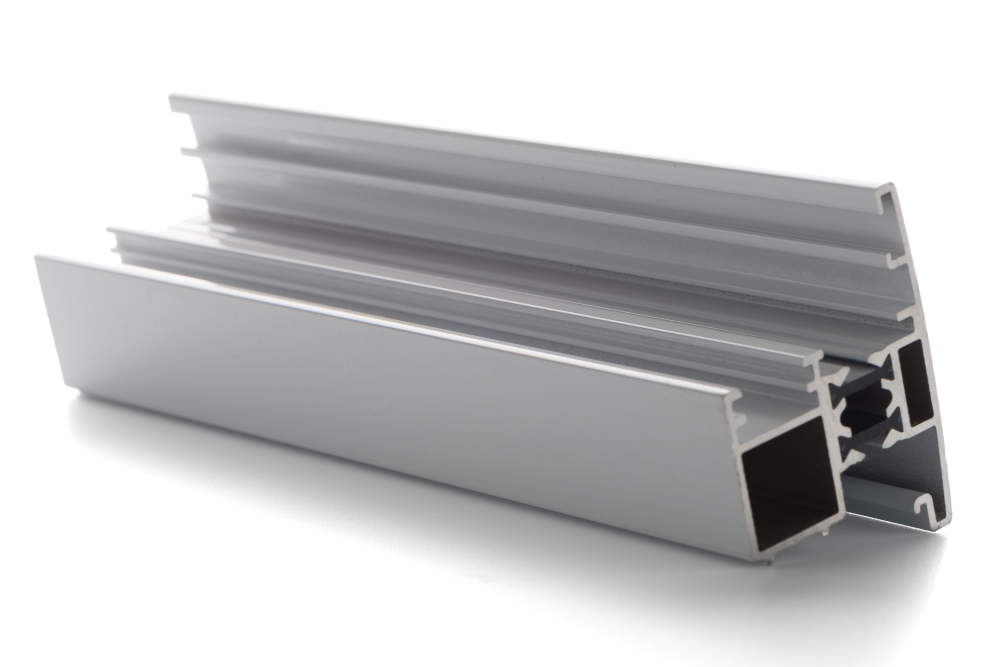
Architectural Shape #2
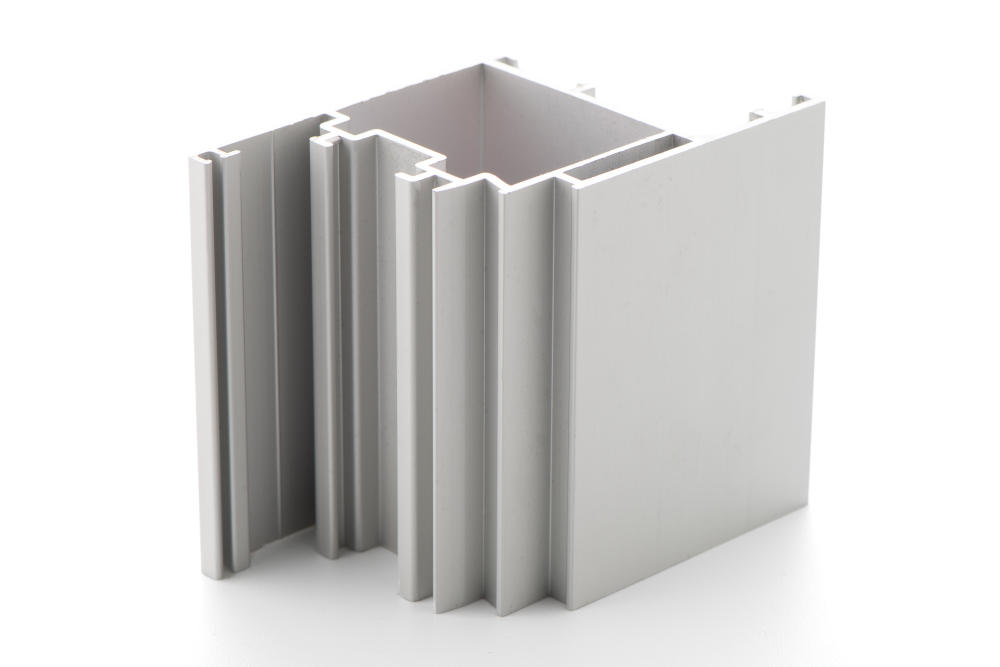
Architectural Shape #3
What you may notice about the first and second images is that they are both made up of not just one, but multiple extrusions.
The designers created systems of multiple, interlocking shapes. The black profile in the middle is actually a polyamide thermal break, used for insulation, and the grey profiles are aluminum. You can see the details by clicking the images to zoom in and then noting the color difference between the profiles.
Perhaps now the basics of aluminum extrusion are clear, so let’s dive deeper into the details of the process.
The Aluminum Extrusion Process in 10 Steps (Video Clips)
We’ve divided the extrusion process into ten steps. Let’s take a look at what they are.
Step #1: The Extrusion Die is Prepared and Moved to the Extrusion Press
Before extrusion, the die must be preheated to between 450-500 degrees celsius to help maximize its life and ensure even metal flow.
Once the die has been preheated, it can be loaded into the extrusion press.
Step #2: An Aluminum Billet is Preheated Before Extrusion
It is preheated in an oven, like this one, to between 400-500 degrees celsius.
This makes it malleable enough for the extrusion process but not molten.
Step #3: The Billet is Transferred to the Extrusion Press
Before it is loaded onto the press, a lubricant (or release agent) is applied to it.
The release agent is also applied to the extrusion ram, to prevent the billet and ram from sticking together.
Step #4: The Ram Pushes the Billet Material into the Container
As the ram applies pressure, the billet material is pushed into the container of the extrusion press.
The material expands to fill the walls of the container.
Step #5: The Extruded Material Emerges Through the Die
As the alloy material fills the container, it is now being pressed up against the extrusion die.
With continual pressure being applied to it, the aluminum material has nowhere to go except out through the opening(s) in the die.
It emerges from the die’s opening in the shape of a fully-formed profile.
Step #6: Extrusions are Guided Along the Runout Table and Quenched
After emerging, the extrusion is gripped by a puller, like the one you see here, which guides it along the runout table at a speed that matches its exit from the press.
As it moves along the runout table, the profile is “quenched,” or uniformly cooled by a water bath or by fans above the table.
Step #7: Extrusions are Sheared to Table Length
Once an extrusion reaches its full table length, it is sheared by a hot saw to separate it from the extrusion process.
At every step of the process, temperature plays an important role.
Although the extrusion was quenched after exiting the press, it has not yet fully cooled.
Step #8: Extrusions are Cooled to Room Temperature
After shearing, table-length extrusions are mechanically transferred from the runout table to a cooling table, like the one you see here.
The profiles will remain there until they reach room temperature.
Once they do, they will need to be stretched.
Step #9: Extrusions are Moved to the Stretcher and Stretched into Alignment
Some natural twisting has occurred in the profiles and this needs to be corrected.
To correct this, they are moved to a stretcher.
Each profile is mechanically gripped on both ends and pulled until it is fully straight and has been brought into specification.
Step #10: Extrusions are Moved to the Finish Saw and Cut to Length
Here, they are sawed to pre-specified lengths, generally between 8 and 21 feet long. At this point, the properties of the extrusions match the T4 temper.
After sawing, they can be moved to an aging oven to be aged to the T5 or T6 temper.
What Happens Next? Heat Treatment, Finishing, and Fabrication
Once extrusion is completed, profiles can be heat treated to enhance their properties.
Then, after heat treatment, they can receive various surface finishes to enhance their appearance and corrosion protection.
They can also undergo fabrication operations to bring them to their final dimensions.
Heat Treatment: Improving Mechanical Properties
Alloys in the 2000, 6000, and 7000 series can be heat treated to enhance their ultimate tensile strength and yield stress.
To achieve these enhancements, profiles are put into ovens where their aging process is accelerated and they are brought to the T5 or T6 tempers.
How do their properties change? As an example, untreated 6061 aluminum (T4) has a tensile strength of 241 MPa (35000 psi). Heat-treated 6061 aluminum (T6) has a tensile strength of 310 MPa (45000 psi).
It is important for the customer to understand the strength needs of their project to ensure the right choice of alloy and temper.
After heat treating, profiles can also be finished.
Surface Finishing: Enhancing Appearance and Corrosion Protection
Aluminum profiles can undergo a number of different finishing operations.
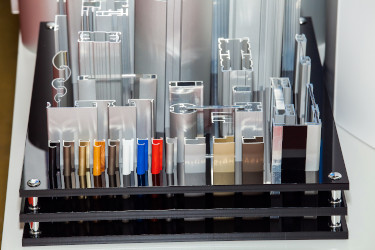
Extrusions can be finished and fabricated in various ways
The two main reasons to consider these is that they can enhance the appearance of the aluminum and can also enhance its corrosion properties. But there are other benefits as well.
For example, the process of anodization thickens the metal’s naturally-occurring oxide layer, improving its corrosion resistance and also making the metal more resistant to wear, improving surface emissivity, and providing a porous surface that can accept different colored dyes.
Other finishing processes such as painting, powder coating, sandblasting, and sublimation (to create a wood look), can be undergone as well.
In addition, there are many fabrication options for extrusions.
Fabrication: Achieving Final Dimensions
Fabrication options allow you to achieve the final dimensions that you are looking for in your extrusions.
Profiles can be punched, drilled, machined, cut, etc. to match your specifications.
For example, the fins on extruded aluminum heatsinks can be cross machined to create a pin design, or screw holes can be drilled into a structural piece.
Regardless of your requirements, there is a wide range of operations that can be performed on aluminum profiles to create the perfect fit for your project.
Summary: Aluminum Extrusion is an Important Manufacturing Process
Aluminum extrusion is a process for creating parts with specific cross-sectional profiles by pushing heated alloy material through a die.
Shapes created can be solid, hollow, and semi-hollow; and they can be simple or they can be complex.
The process of extrusion is an interesting one, resulting in 8-24 foot long profiles that can then be heat treated, finished, and fabricated to customer specifications.
If you’d like to learn more about how to optimize your part design for the extrusion process, download our Aluminum Extrusion Design Guide.
Aluminum Extrusion Design Guide
Aluminum extrusions can be designed to fit a wide range of products used in various industries. But product designers often have difficulty achieving optimal extrusion profile design and reducing manufacturing costs.
In this guide, we provide 11 tips to help you optimize your designs for the extrusion process.
Download Aluminum Extrusion Design Guide

Reduce manufacturing costs, maximize quality, and improve production speeds.